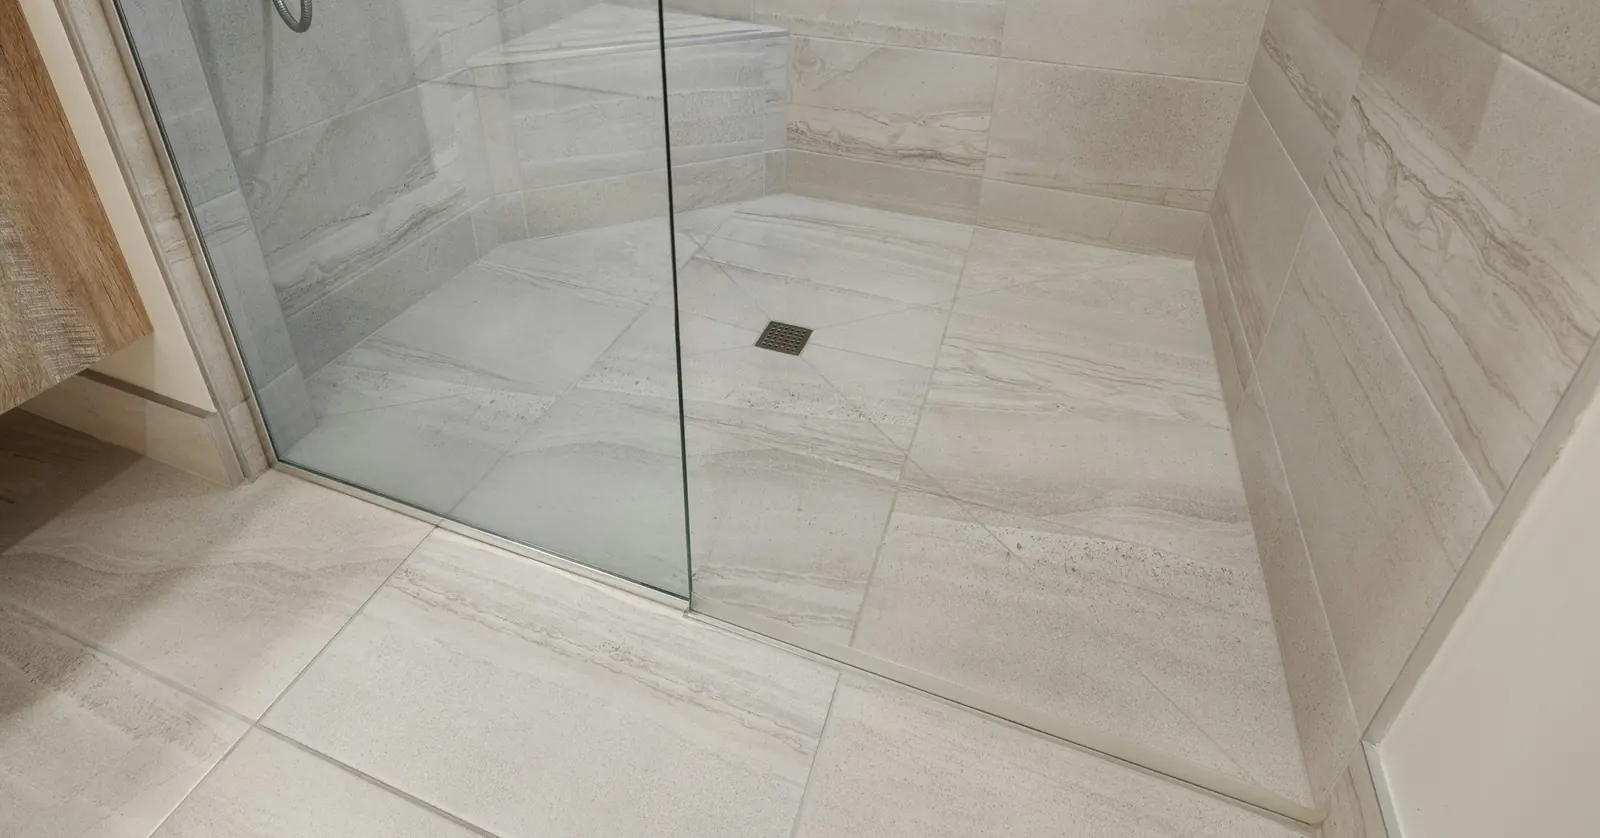
Wet-Area Waterproofing Contractor in Jeddah
Waterproofing contractor in Jeddah: wet-area membrane systems for bathrooms, kitchens and balconies, flood-tested before any finish goes over them.
Request a QuoteWater finds every gap a building gives it. In bathrooms, kitchens, roofs and any area that sees standing or running water, a finish that looks correct on handover day can fail within a season if the waterproofing underneath it wasn't done properly — and by the time a leak shows up in a ceiling or a wall, the fix usually costs many times what doing it right the first time would have. We treat wet-area waterproofing as a distinct discipline, not an afterthought bundled into tiling or plaster work: it is specified, installed and inspected before any finish goes over it.
Our waterproofing scope covers the areas where it matters most on a Saudi building — bathroom and kitchen floors and wall upstands, balconies and terraces, and roof slabs ahead of insulation or screed. Work follows the same sequence on every project: surface preparation and priming, membrane application (cementitious or bituminous systems, chosen for the substrate and exposure), reinforcement at movement joints and pipe penetrations, and a flood test before anything is covered. Falls are checked and corrected to the drain before membrane goes down, not after — an improperly sloped floor is the single most common cause of standing water and premature failure in wet areas.
This is scope we've carried across government, commercial and residential work since 2000 — most recently on a Ministry of Health public health unit, where wet-area waterproofing sat alongside the same healthcare-grade finishing standard the rest of that project was held to. Waterproofing failures are expensive precisely because they're invisible until they aren't; our support-engineering team inspects and signs off this work before it's covered, catching problems at the one point in the programme where they're still cheap to fix.
Wet-area waterproofing on an Ashlaar project is coordinated with the rest of the finishing scope — flooring, screeding and expansion-joint treatment, and roof treatment where the same building needs it — rather than handled as a separate trade with its own schedule and its own risk of gaps at the handover between trades.
What's in scope
- Surface preparation, falls correction and membrane application
- Reinforcement at movement joints and pipe penetrations
- Flood testing before any finish is installed
How we deliver this
- 01
Surface preparation & priming
The substrate is prepared and primed before any membrane goes on, the base every wet-area waterproofing system depends on.
- 02
Falls check & correction
Falls are checked and corrected toward the drain before membrane goes down — an improperly sloped floor is the single most common cause of standing water and premature failure.
- 03
Membrane application
Cementitious or bituminous membrane systems are applied, chosen for the substrate and exposure rather than one default system for every area.
- 04
Reinforcement at joints & penetrations
Movement joints and every pipe penetration get extra reinforcement — the points a membrane fails first if they're rushed.
- 05
Flood testing
Every wet area is flood-tested before flooring or tiling goes down — standard practice on every project, not an optional extra.
- 06
Inspection & sign-off
Our support-engineering team inspects and signs off the completed waterproofing before it's covered — the one point in the programme where a problem is still cheap to fix.
Where wet-area waterproofing has to reach
Most leaks start at the edges of the waterproofing, not in the middle of the floor. The system types are compared in Types of Waterproofing Systems for Wet Areas; the question here is coverage, meaning whether the membrane reaches everywhere water can. A membrane that stops at the door line or falls short of the wall lets water track sideways into the next room or down inside the wall.
- The whole floor, turned up the walls at the perimeter, and higher, often to full height, in shower and bath zones where water is sprayed onto the wall. The heights are set by the design and the consultant.
- Across door thresholds, so water cannot track under the door leaf into a dry room.
- Behind and under fixtures that will hide the wall: vanities, wall-hung fittings and concealed cisterns, whose supports and chases run through the wet wall.
- Kitchen floors, especially around sinks and dishwashers, which see the same daily water as a bathroom.
- Balconies and terraces, sloping away from the door, with the membrane turned up at the door sill and finished properly at the edge.
Climate changes how the work is done. In Jeddah's humid air, walls and slabs dry slowly, and depending on the system, a membrane over a substrate that is still damp can blister or lose bond. In Riyadh's dry heat and wind, cementitious coatings can dry too fast and need damp curing as the data sheet directs.
Reading the symptoms: what a leak usually points to
Water rarely appears where it entered. The table links common symptoms to their usual causes. A damp stain can come from a plumbing leak just as easily, so confirm the source before anything is broken out.
| Symptom | Usual cause | What to inspect |
|---|---|---|
| Damp stain on the ceiling below that grows after showers | A break in the membrane at a drain, penetration or wall junction | Continuity at drains, sleeves and upstands |
| White deposits at skirting or grout lines | Water moving through the build-up and carrying salts to the surface | Upstand height, and any gap between membrane and wall |
| Tiles hollow or lifting near a wall or drain | Water sitting in the bed instead of running to the drain | Falls to the drain, and the drain level against the finished floor |
| Musty smell or mould at the base of walls | Water tracking into the wall or into the adjoining room | Threshold and wall-base detailing |
Coordination that protects the membrane
A membrane is usually damaged after it is installed, by the next trade, not while it is being applied, so the sequence is agreed in advance.
- Plumbing positions and levels for drains, sleeves and fixtures are fixed before the membrane goes down. Chasing or drilling through it afterwards creates the leak paths the system was meant to prevent.
- Falls are formed before the membrane, in a screed where the slab does not provide them, and a protective layer or topping screed goes over the tested membrane where the system calls for one, so later trades cannot puncture it.
- Tile adhesive and grout are chosen to suit the membrane, and movement joints in the tiling line up with joints below.
- Fixings for cubicle partitions and other fittings are planned so anchors do not pierce the membrane, or are sealed where they must.
- Where practical, the ceiling below stays open until the test is complete, so a leak is found while it is still cheap to fix.
Checks before anything covers the membrane
Once tile or screed goes over a membrane, it cannot be inspected again. On an Ashlaar project every wet area is flood-tested before flooring or tiling goes down, and the support-engineering team inspects and signs off the work before it is covered. The same discipline was applied to wet-area waterproofing on the public health unit, a healthcare setting where a failure has hygiene consequences.
- Membrane continuous, with no pinholes, thin patches or missed corners, and upstands at the specified height.
- Reinforcement in place at corners, joints and pipe penetrations.
- Falls checked to the drain, with no ponding before the test starts.
- Flood test held for the period the specification sets, with the water level marked at the start and checked at the end, and witnessed where the consultant requires it.
- Product data sheets, batch details and application records kept on file, and the membrane protected before the next trade starts.
What's handled by another capability
- Roof-specific foam concrete insulation and falls — see Roof Treatment & Waterproofing
- Flooring and tiling installed over the waterproofing — see Flooring
- Screeding and expansion-joint treatment — see Screeding & Expansion-Joint Treatment
Materials & systems
- Cementitious waterproofing membrane systems
- Bituminous waterproofing membrane systems
- Reinforcement mesh/fabric at joints & penetrations
- Surface primers
Where we deliver this
 Head office
Jeddah
Makkah Region
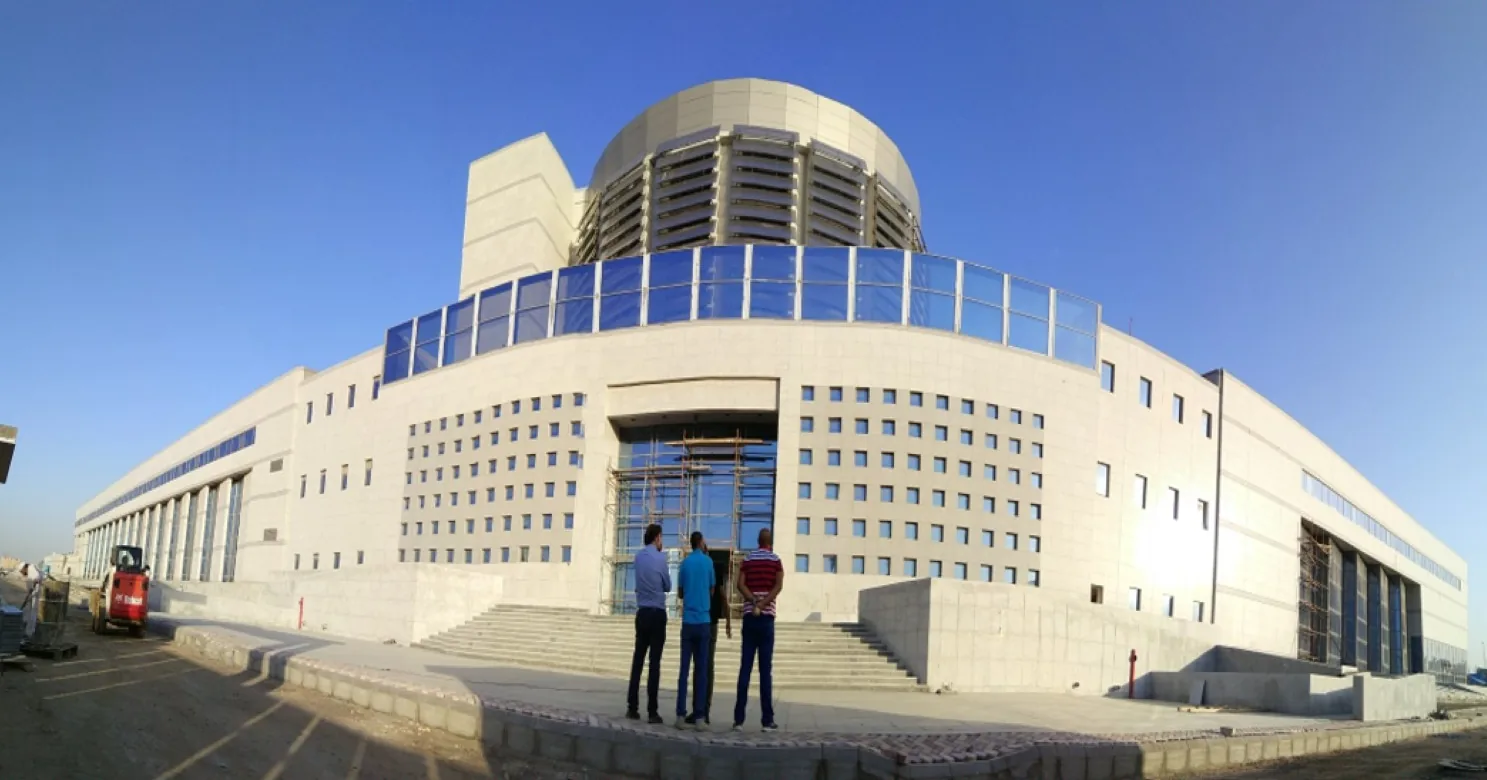
Ashlaar's head office, and the largest share of our project record.
7 projects delivered
Riyadh
Riyadh Region
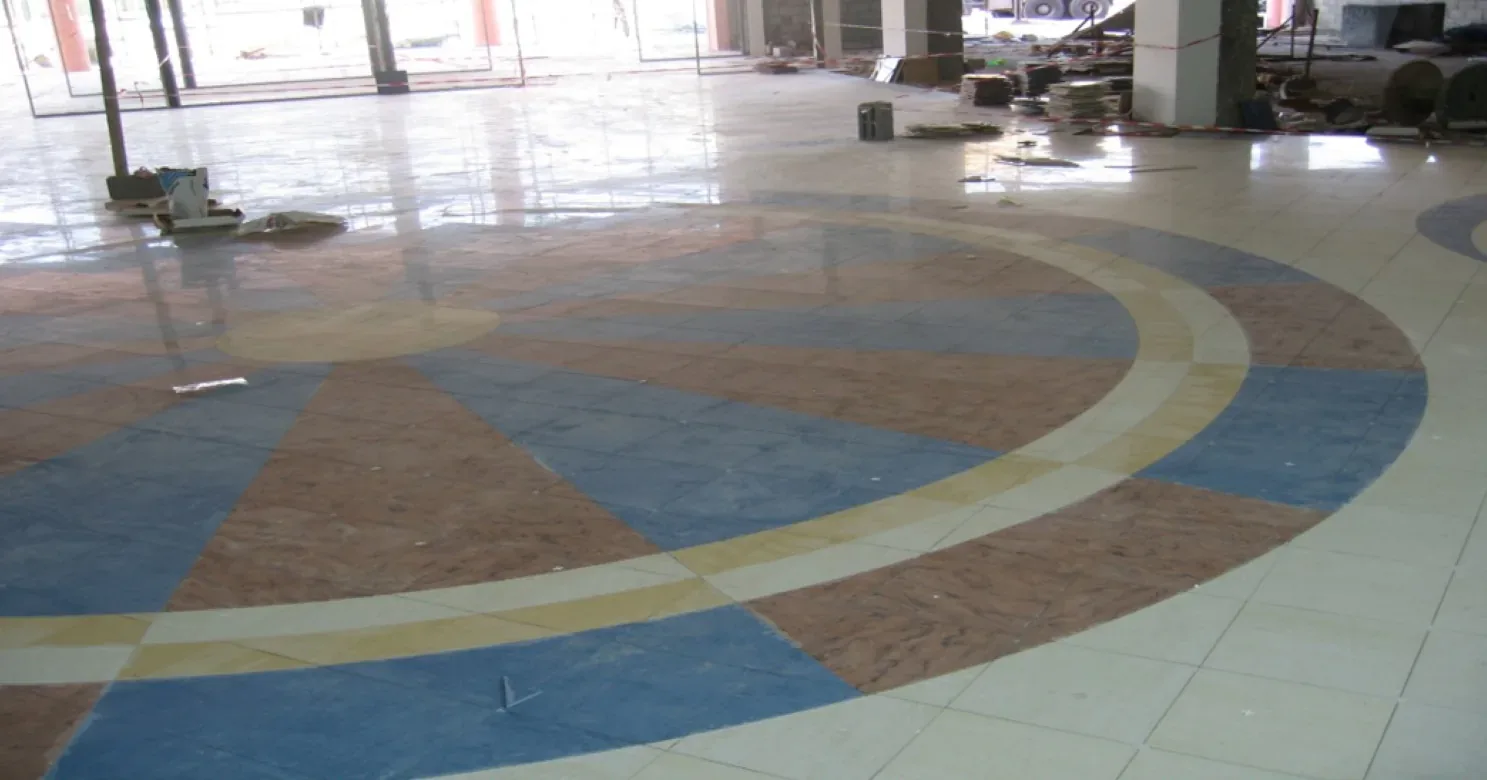
Our largest project base outside Jeddah.
6 projects delivered
Dammam
Eastern Province
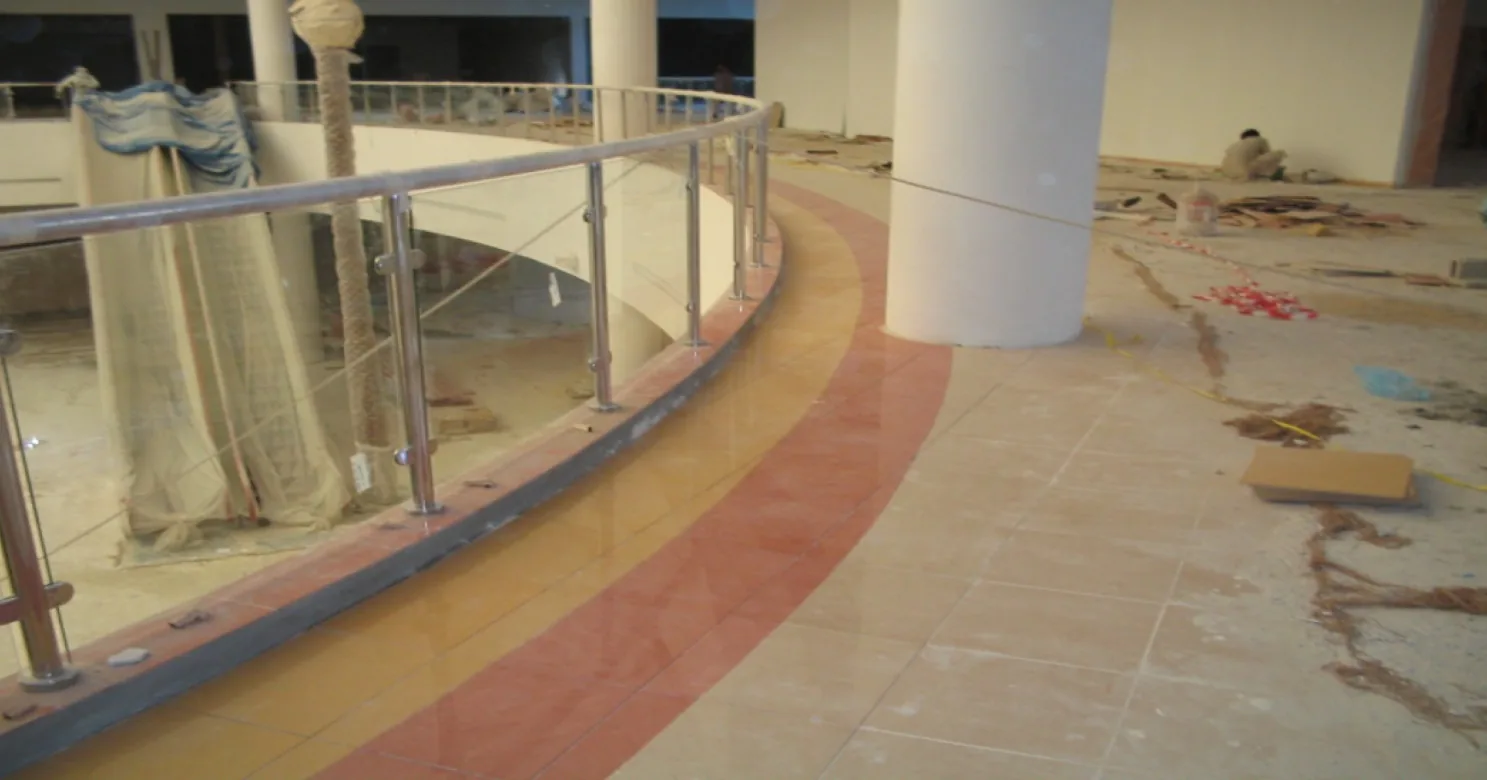
Interior finishing and flooring for a retail development.
1 project delivered
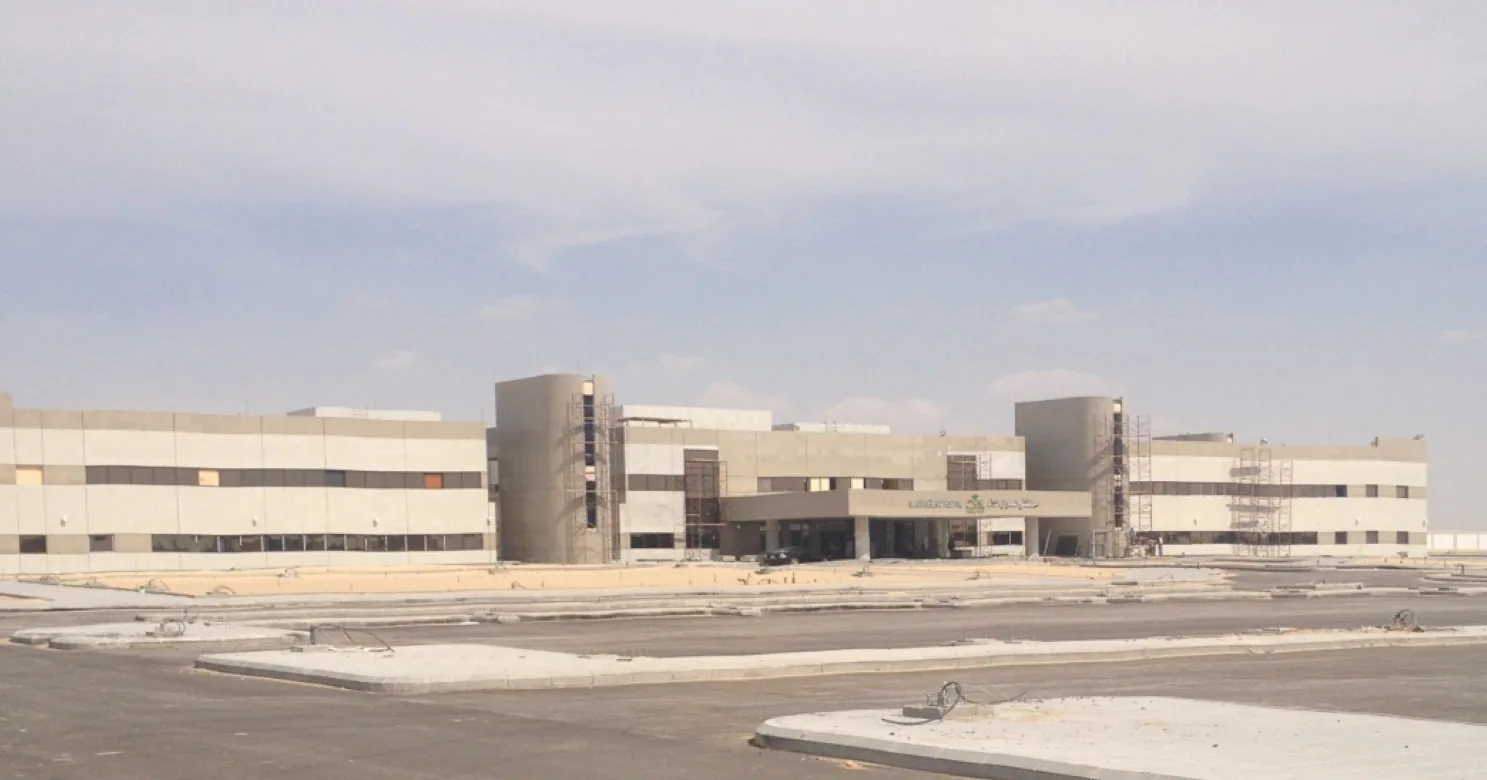
Al Ahsa
Eastern Province
Architectural finishing for a healthcare facility.
1 project delivered
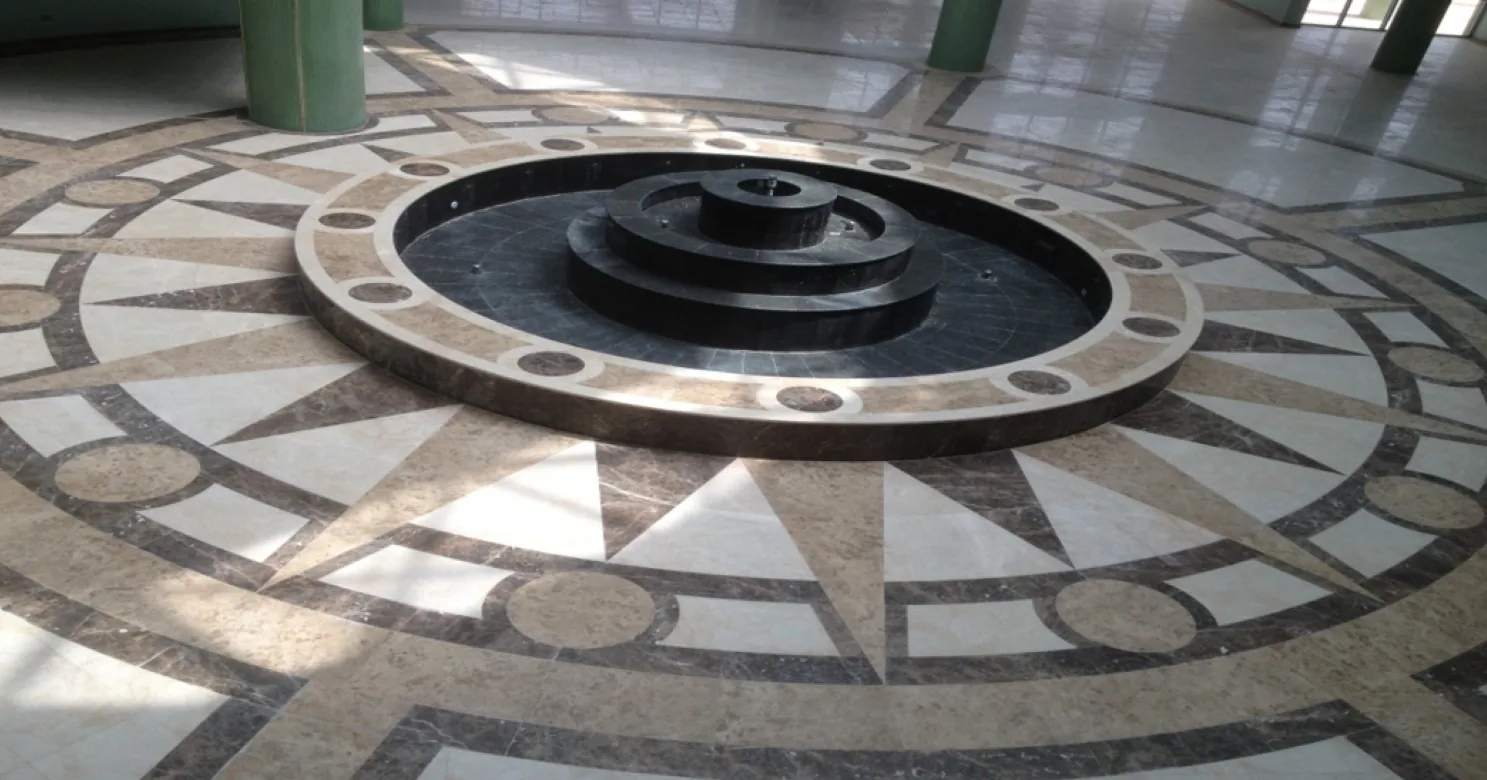
Al Kharj
Riyadh Region
The Kingdom's dairy capital — and our largest Riyadh Region project outside the capital itself.
1 project delivered
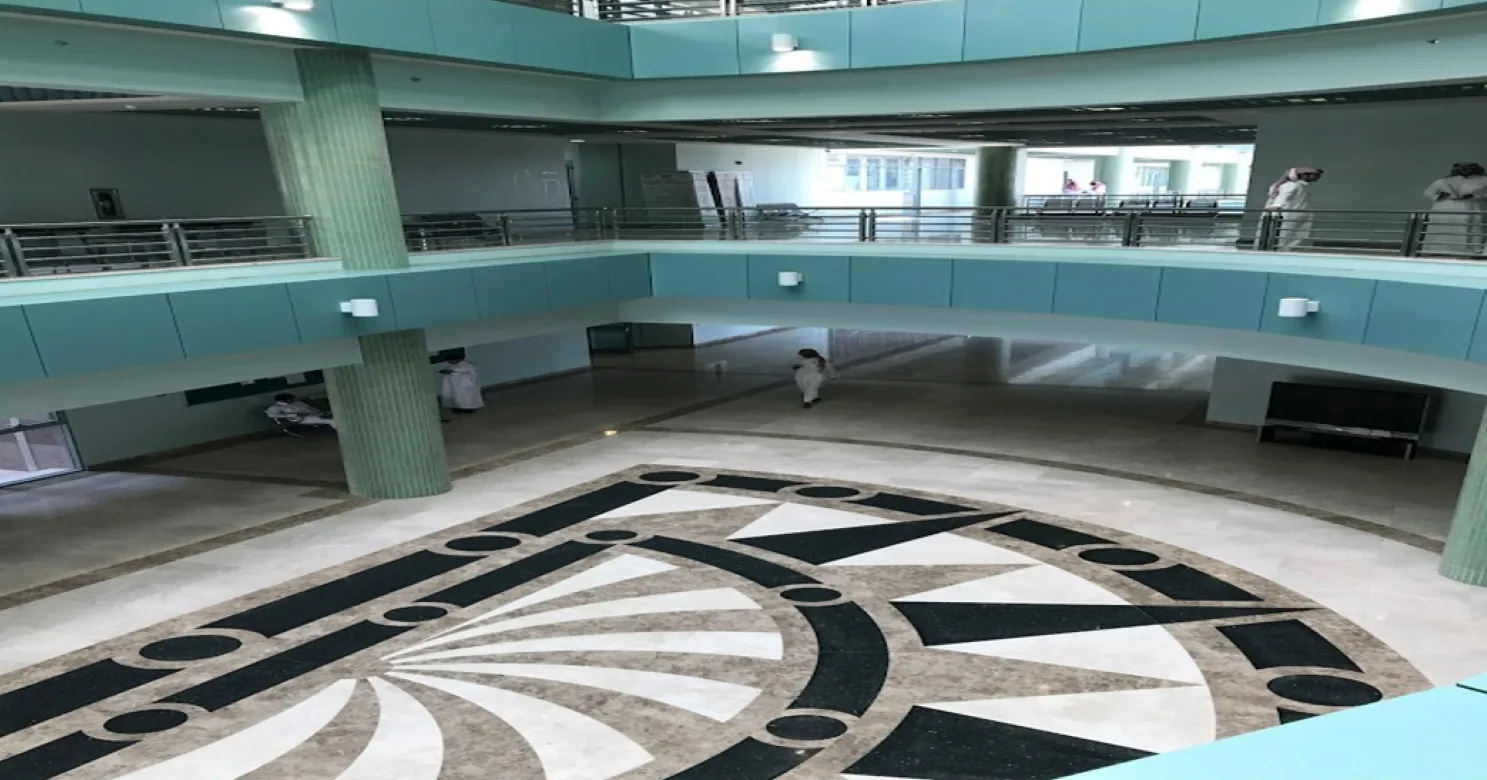
Huraymila
Riyadh Region
A college campus finishing scope, part of our wider Riyadh Region higher-education work.
1 project delivered
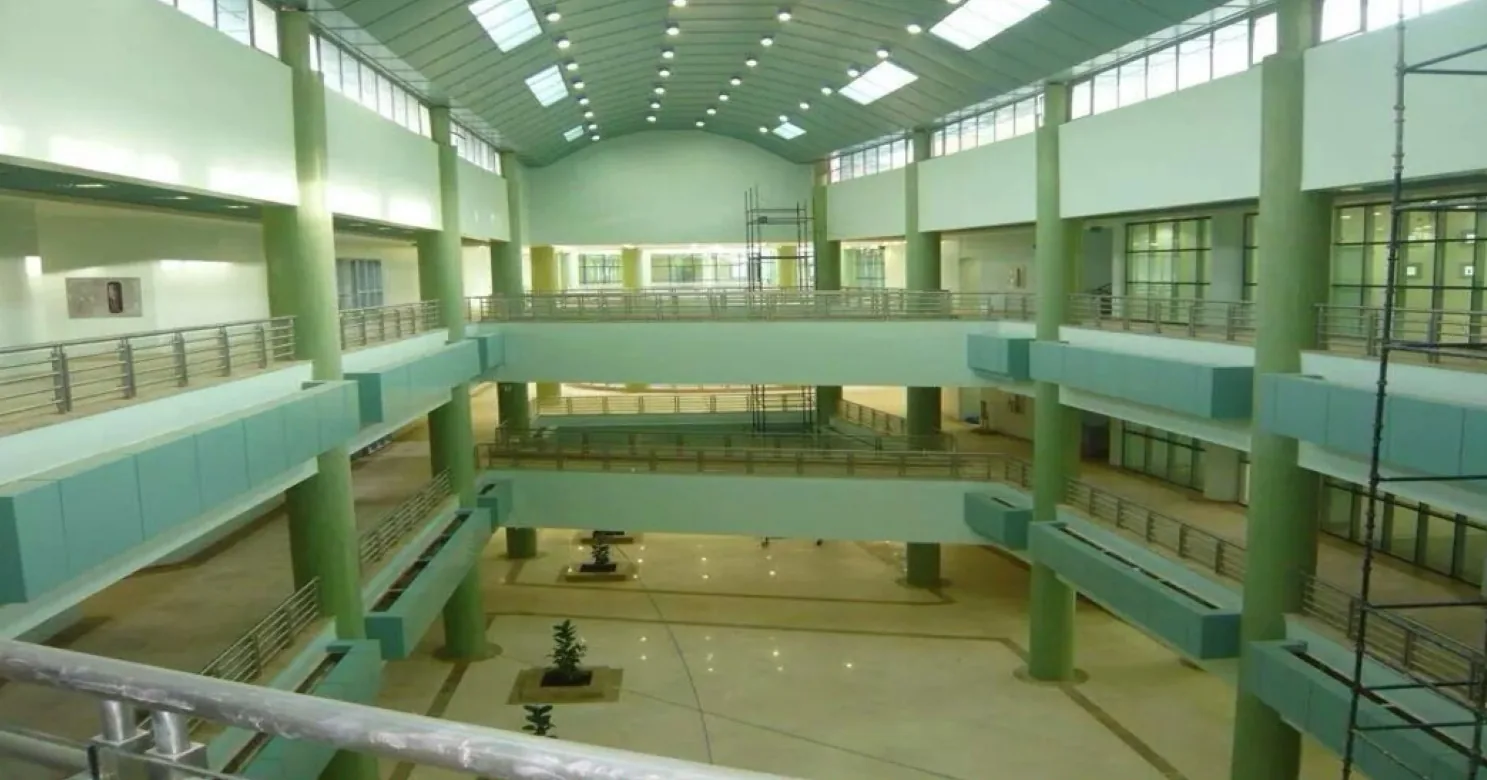
Muzahmia
Riyadh Region
A university campus finishing scope, on the Riyadh–Mecca Highway corridor west of the capital.
1 project delivered
Projects that evidence this trade
Related reading
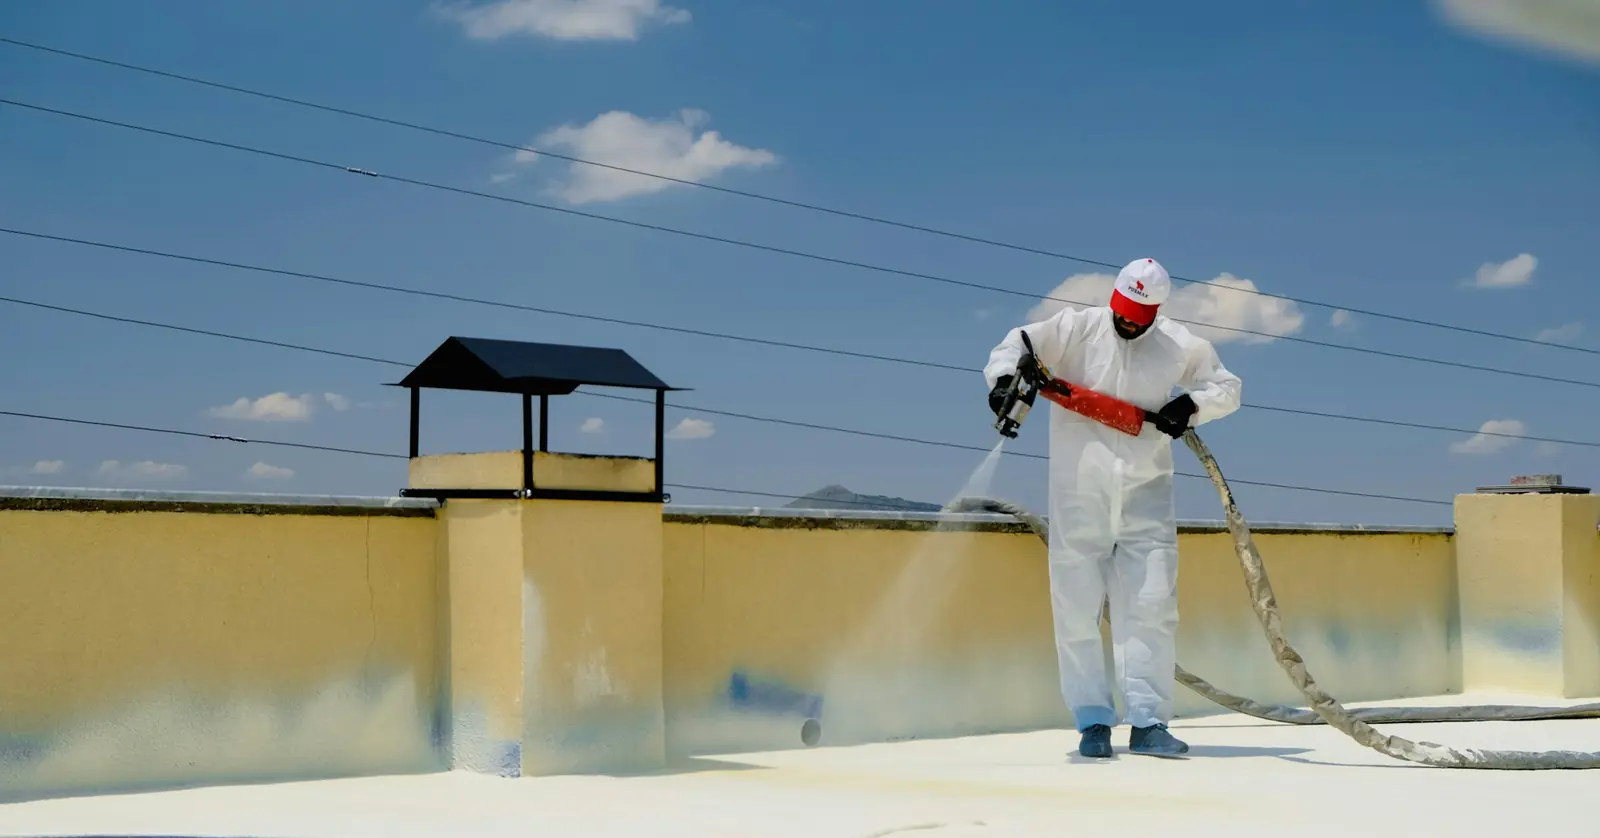
Types of Waterproofing Systems for Wet Areas
A practical comparison of cementitious, liquid-membrane, sheet and crystalline waterproofing systems, and where each genuinely belongs on a project.
Read more
Questions to Ask Before Hiring a Finishing Contractor in KSA
A working checklist of the questions to ask any finishing contractor in Saudi Arabia before signing — on scope, programme, quality and payment.
Read moreFrequently asked
How long does wet-area waterproofing take?
Timeline depends on the area being treated and how many trades are sequenced around it — our technical team will give you a schedule as part of the quote, tied to the rest of your finishing programme.
What waterproofing membrane do you use?
Cementitious or bituminous membrane systems, specified per area based on the substrate, exposure and manufacturer requirements — a bathroom floor, a roof and a balcony don't all call for the same system.
Do you test waterproofing before covering it?
Yes. Every wet area is flood-tested before flooring or tiling goes down — standard practice on every project, not an optional extra.
What's the biggest cause of wet-area waterproofing failure?
An improperly sloped floor. Falls are checked and corrected to the drain before the membrane goes down, not after — the single most common cause of standing water and premature waterproofing failure we see.
Do you waterproof balconies and terraces, or only bathrooms and kitchens?
All of them — bathroom and kitchen floors and wall upstands, balconies, terraces and roof slabs are all part of this scope, each specified to its own exposure rather than treated identically.
Is wet-area waterproofing coordinated with the flooring and tiling installed over it?
Yes — it's coordinated with the rest of the finishing scope (flooring, screeding and expansion-joint treatment) rather than handled as a separate trade with its own schedule and its own risk of gaps at the handover between trades.
How high should the waterproofing go up the wall?
The height is set by the design and the consultant, and it differs by zone. As a rule the membrane turns up at every wall around the floor, and it goes higher, often to full height, in shower and bath areas where water hits the wall directly. Ask for the upstand height for each area to be written into the specification, not left to the applicator.
How can I tell whether a leak comes from the waterproofing or from the plumbing?
A leak that appears only after showers or floor washing points to the membrane or a drain; one that shows with no water use, or grows steadily, points to a supply or waste pipe. A plumber can pressure-test the pipework, and a controlled flood test can check the membrane. Test one at a time, so the cause is clear before anything is broken out.
Can a failed wet-area membrane be repaired without lifting the floor?
Sometimes for a small, well-located fault, such as a failed seal around a drain or a joint. But where the membrane has failed over an area, the finishes above usually have to come up, because the repair must be continuous with the sound membrane around it. Finding the source first avoids breaking out more floor than necessary.
More from Architectural Finishing
Planning a project? Let's talk finishing.
Tell us about your scope and timeline — our technical team will respond with a clear, considered proposal.